react-md - Guides - Creating A New App
Table of Contents
Creating a New App
This guide will help you create a new app with react-md along with
create-react-app as the project bootstrapper. The basic requirements for
continuing are:
If you want to get started immediately, you can view the GitHub examples folder which outlines quick ways to spin up a new project with different build tools. Another alternative is using the react-md GitHub template to bootstrap a new repo with Next.js and some reasonable defaults.
Bootstrapping a new Project
To get started, let's use create-react-app to bootstrap our new project:
npx create-react-app my-appOr with yarn:
yarn create react-app my-appOnce the command has completed, cd into the my-app directory and install
react-md and sass:
npm install --save react-md
npm install --save-dev sass
Or with yarn:
yarn add react-md
yarn add --dev sass
Now that we've initialized our project, we can go ahead and start up the app
with the start command:
npm run startOr with yarn:
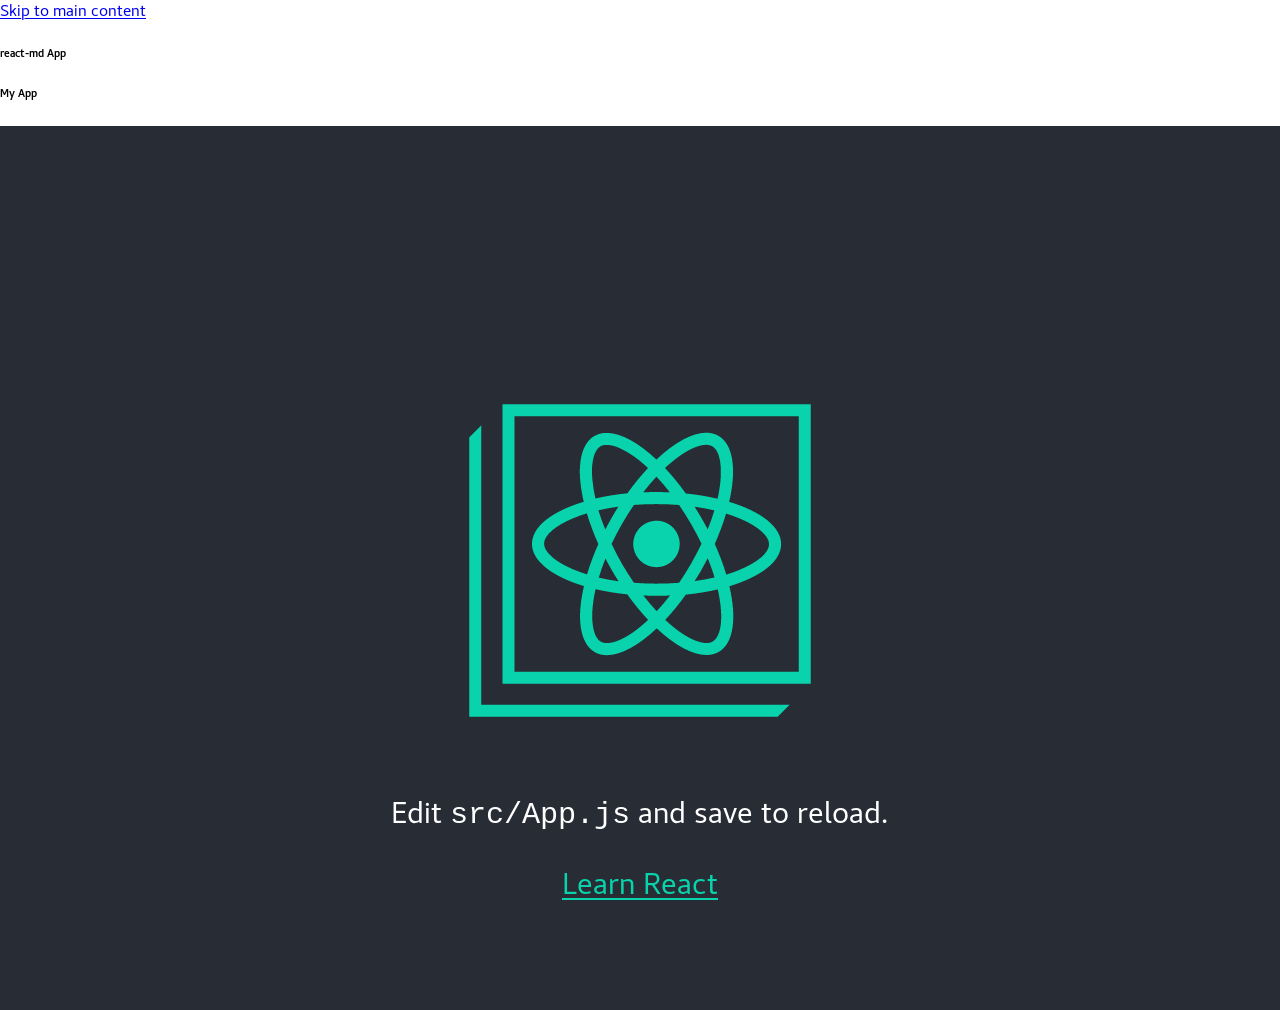
yarn startOnce the app starts, you should see a page like this:

Great! Let's start adding some react-md into the mix. First, let's add the
general Configuration and Layout to our app. Start by editing the main
src/index.js to use the Configuration component:
 import ReactDOM from 'react-dom';
+import { Configuration } from 'react-md';
 import './index.css';
 import App from './App';
 import reportWebVitals from './reportWebVitals';

 ReactDOM.render(
   <React.StrictMode>
-    <App />
+    <Configuration>
+      <App />
+    </Configuration>
   </React.StrictMode>,
   document.getElementById('root')
 );
Next, update the src/App.js to include the Layout component. Since the
Layout component is also used to render a navigation pane, we'll use the
useLayoutNavigation hook along with an empty navigation tree to handle that
behavior to start with.
+import { Layout, useLayoutNavigation } from 'react-md';
+
import logo from './logo.svg';
import './App.css';
+const navItems = {};
+
function App() {
return (
+ <Layout
+ title="react-md App"
+ navHeaderTitle="My App"
+ treeProps={useLayoutNavigation(navItems, window.location.pathname)}
+ >
<div className="App">
<header className="App-header">
<img src={logo} className="App-logo" alt="logo" />
<p>
Edit <code>src/App.js</code> and save to reload.
</p>
<a
className="App-link"
href="https://reactjs.org"
target="_blank"
rel="noopener noreferrer"
>
Learn React
</a>
</header>
</div>
+ </Layout>
);
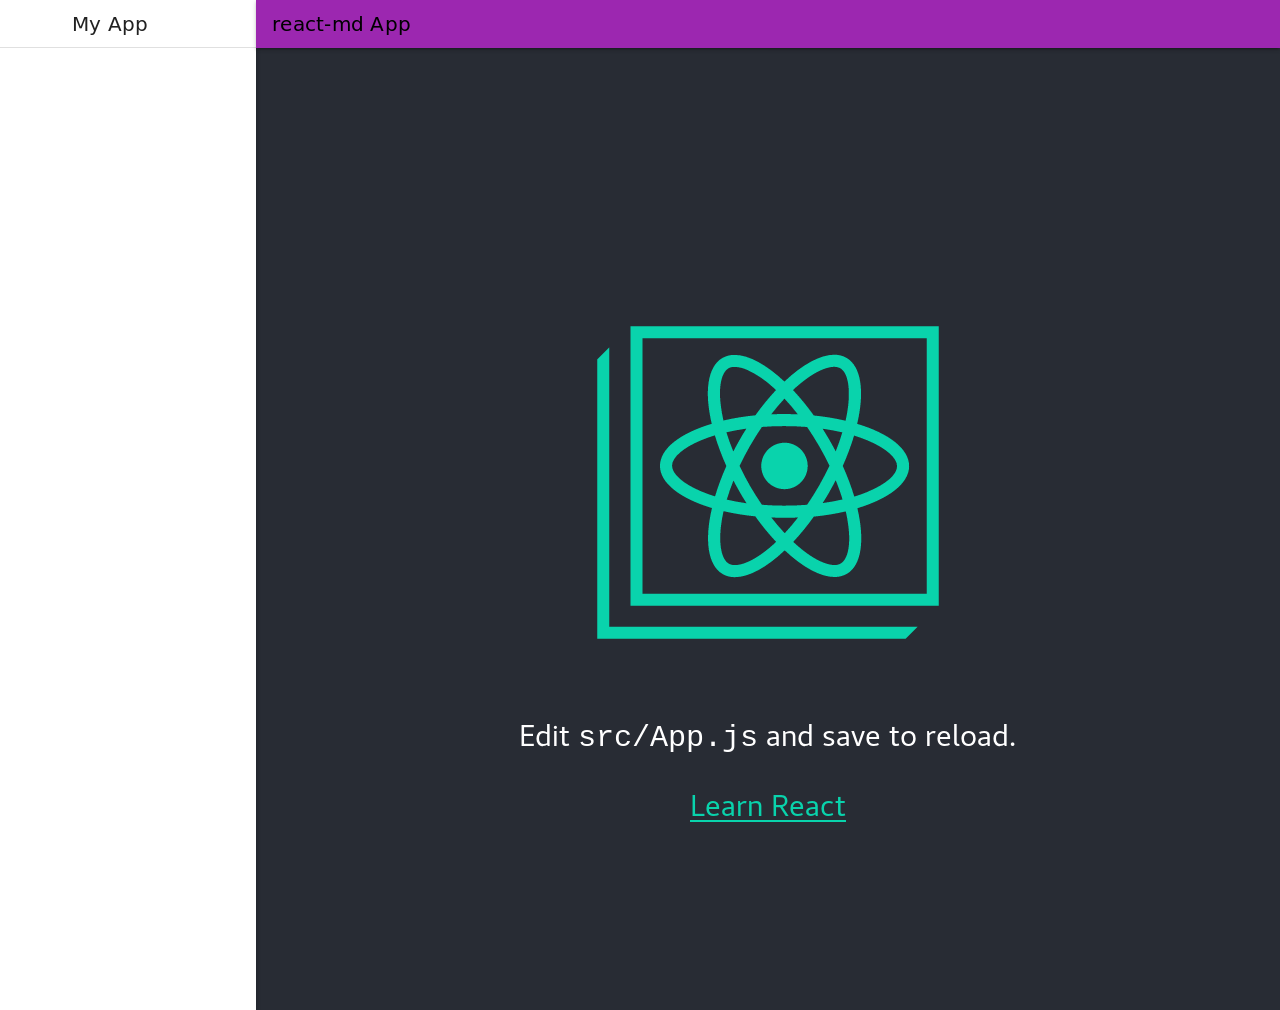
}When you hit save, you'll be presented with this beauty:
What?! That doesn't look anything close to how it was advertised! No problem.
Let's fix that by adding the base styles. Create a new file src/App.scss that
will import the react-md scss library as well as generate the default styles:
@use "react-md" as *;

@include react-md-utils;
Next, update src/App.js to import this file.
 import logo from './logo.svg';
 import { Layout, useLayoutNavigation } from 'react-md';
 import './App.css';
+import './App.scss';

 const navItems = {};
Once you save this file, you should now see an app with a decent looking layout with the default color scheme.
If you get an error like this:
you can fix it by ensuring to install
sassand restarting your dev server.
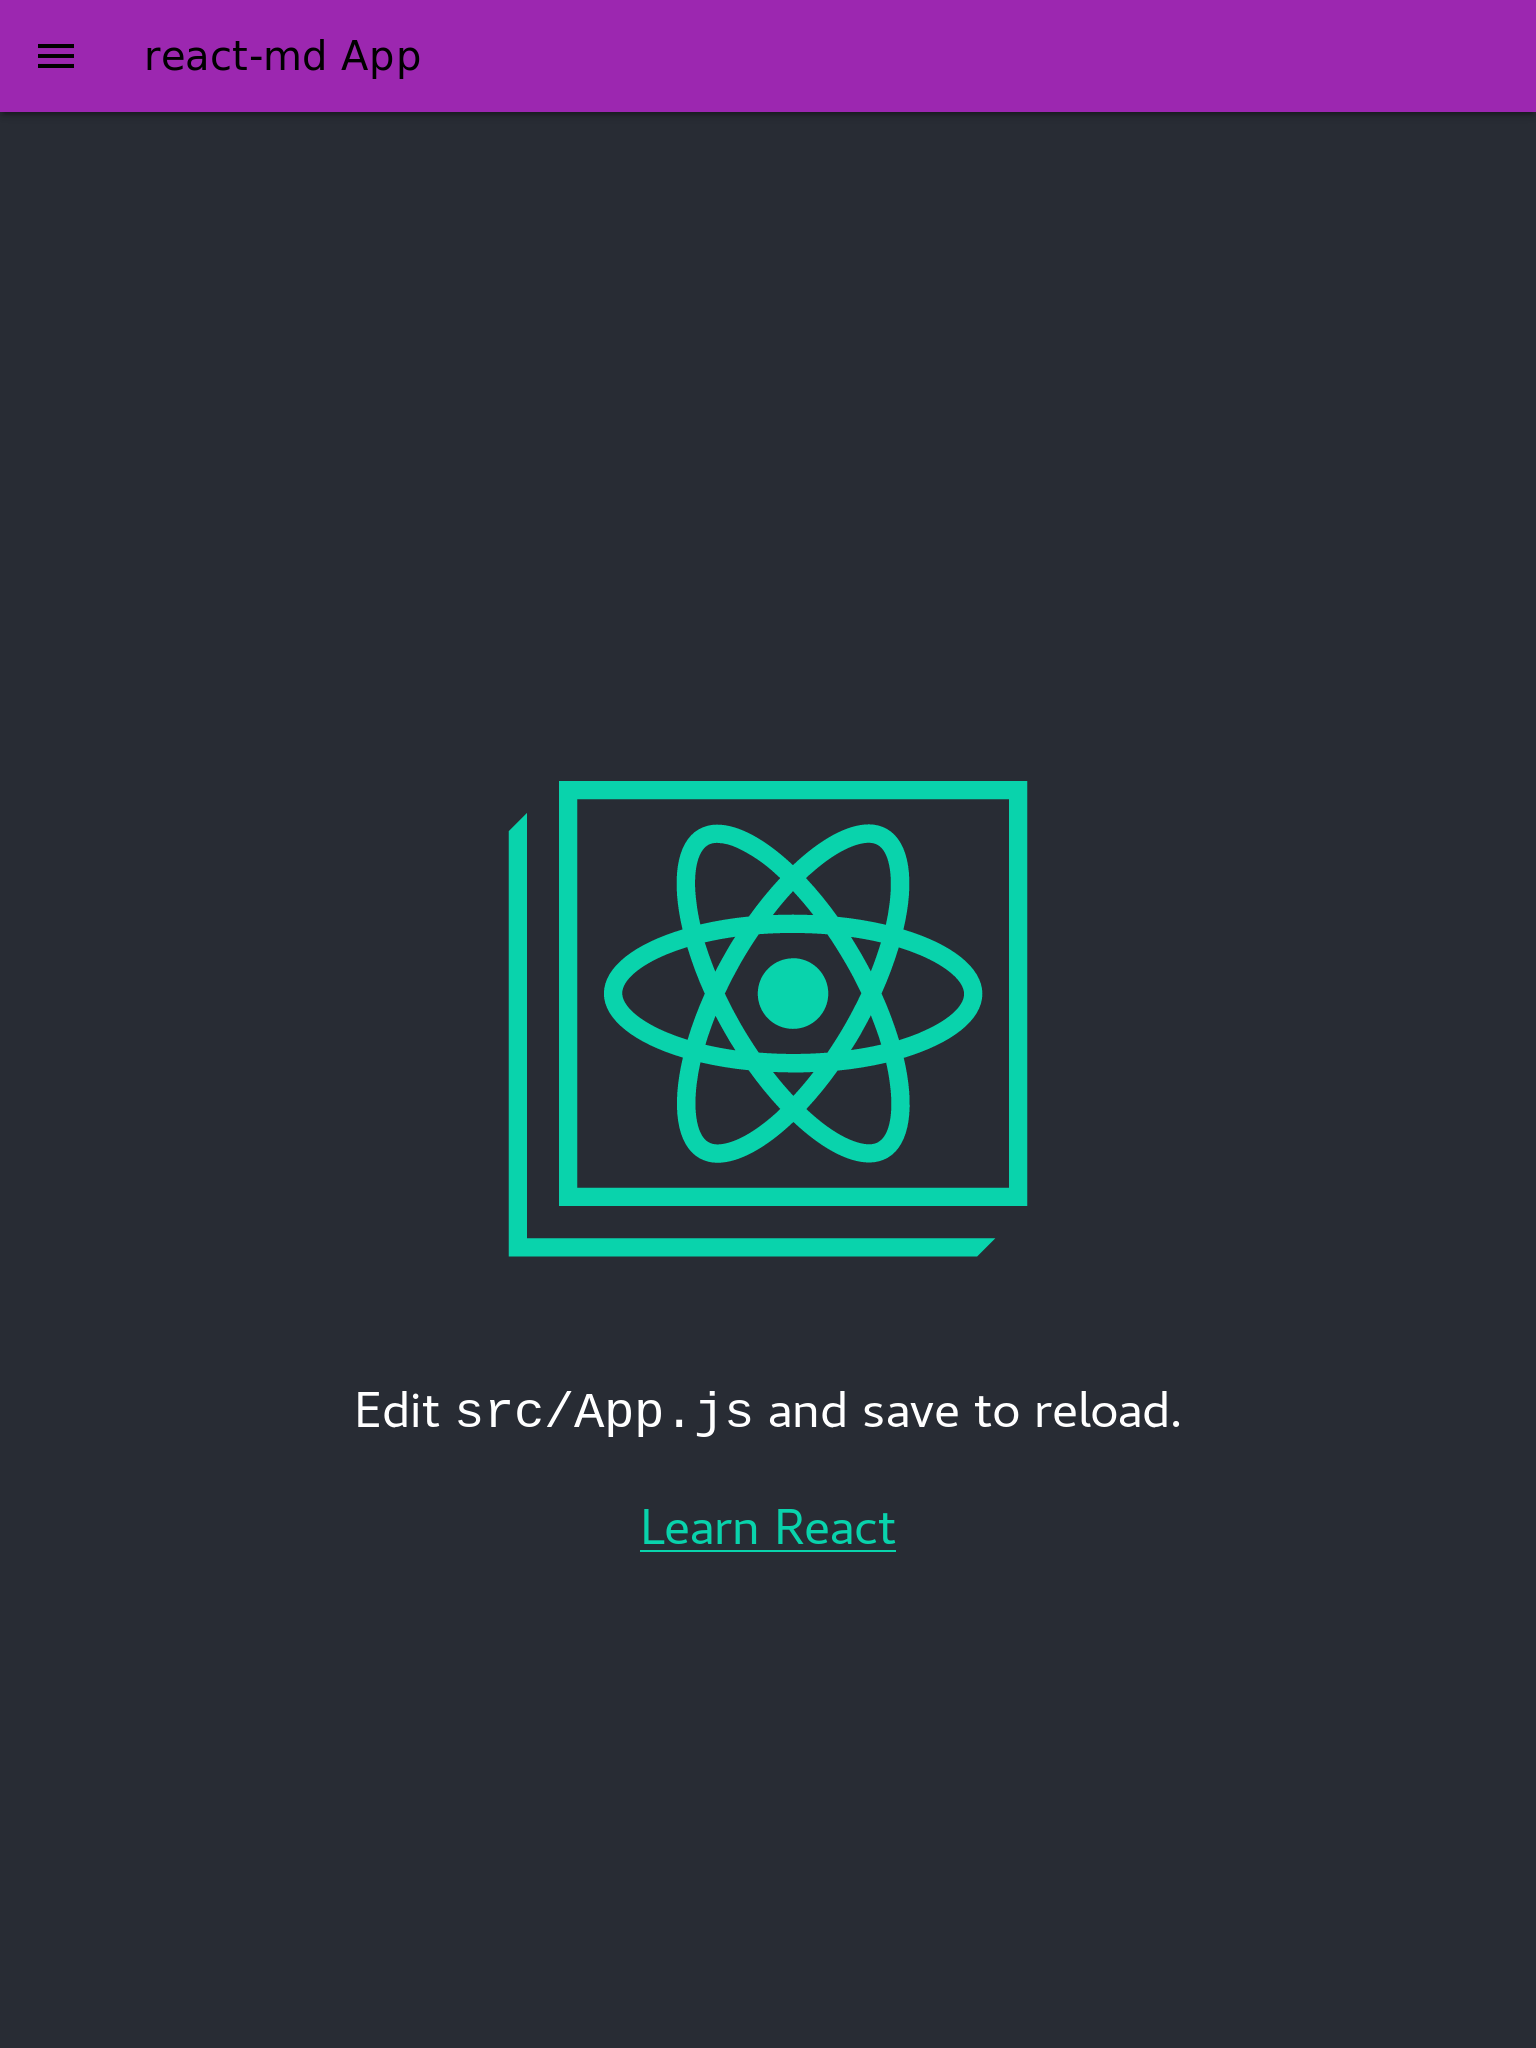
We're getting close, but if you resize your browser, you'll notice something weird in the layout:
![]()
Aha! We're missing the final part of including fonts! react-md defaults to
using the Roboto font along with the Material Icons font icon library. Luckily,
both of these can be quickly added to your site with Google Fonts. Let's
update the public/index.html one more time to add a <link> for the fonts:
     <!--
       manifest.json provides metadata used when your web app is installed on a
       user's mobile device or desktop. See https://developers.google.com/web/fundamentals/web-app-manifest/
     -->
     <link rel="manifest" href="%PUBLIC_URL%/manifest.json" />
+    <link rel="stylesheet" href="https://fonts.googleapis.com/icon?family=Material+Icons" />
+    <link rel="stylesheet" href="https://fonts.googleapis.com/css?family=Roboto:400,500:700&display=swap" />
Once you save, you should now have both the material icons font and the Roboto font available.
🎉 Your first setup has been completed.
Where do I go from here?
Well now that you've setup the basics for your first react-md styled app,
you'll probably be interested in:
- Configuring your layout - This will also go into more details about the navigation tree.
- Customizing your theme - The default colors, sizes, and fonts might not be your thing so this is all configurable.
- Advanced Installation - Using default styles from unpkg.com to speed up initial compilation and optionally using the UMD bundle.
- viewing the different packages within
react-mdand seeing the components they provide.